
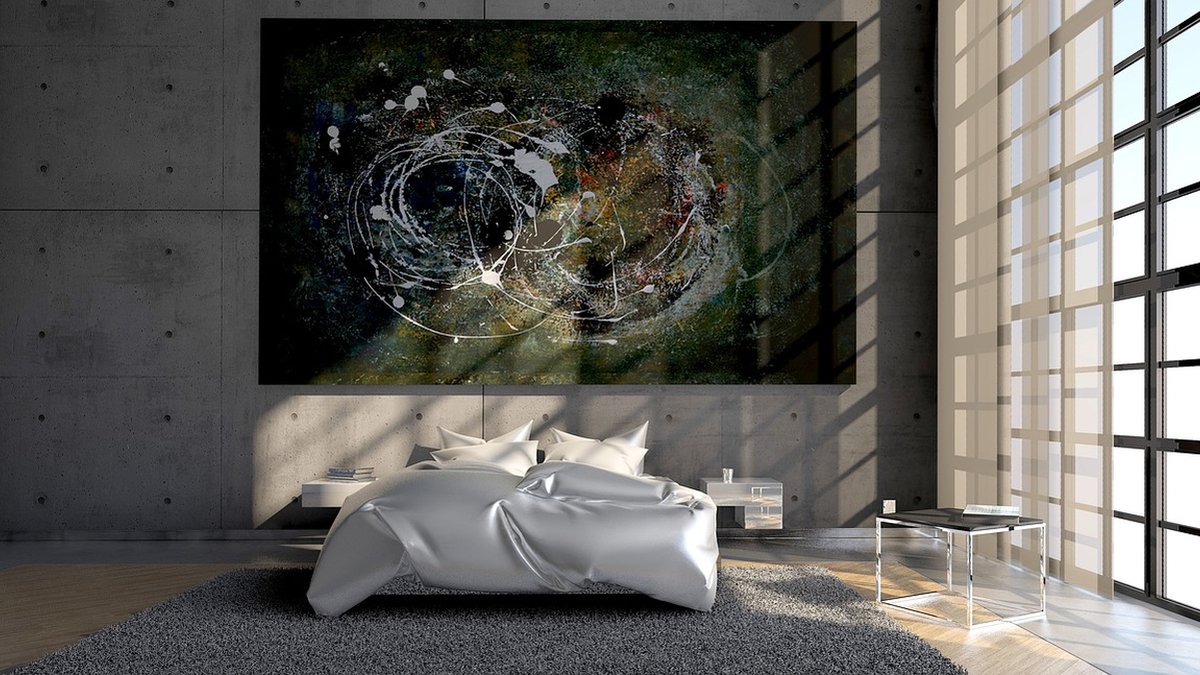
A large blank wall is an opportunity, not a problem, but it rewards a little planning. Before you reach for the drill, measure the wall properly: its full width and height, the distance from the floor to the ceiling, and any furniture sitting beneath it. Note where the light falls during the day and whether a radiator, plug socket or door frame interrupts the space.
Now make a rough scale drawing on graph paper. One square to 10cm works well for most walls. Cut paper templates for every frame you are considering and lay them out on the drawing, shuffling them around until the arrangement feels balanced. Better still, cut full-size templates from lining paper, tape them to the wall with low-tack masking tape, and live with them for a day or two. You will spot problems on the wall that never appear on paper — a frame that crowds a doorway, or a gap that looks mean beside a generous one.
Every good gallery wall has an anchor. That might be your largest piece, the one with the strongest colour, or simply the one you love most. Decide where it goes first, then let everything else support it rather than compete.
A few principles worth holding onto:
Consistency is what separates a considered arrangement from a jumble. Whatever layout you choose, keep the gaps between frames the same throughout — most interiors look best with 5cm to 8cm between neighbouring frames. Larger gaps suit big, bold pieces on a wide wall; tighter gaps suit small, intricate collections.
The single most useful number in picture hanging is 145cm to 152cm from the floor to the centre of the arrangement. That is roughly average eye level and it is what galleries and museums use. Above a sofa, leave 15cm to 25cm between the sofa back and the bottom edge of the lowest frame — close enough to feel connected, far enough that nobody knocks it. Above a sideboard or fireplace, treat the furniture as the base and work upwards.
One more thing: if the wall is smaller than you thought, or the paper templates keep looking crowded, take a piece away. Editing is the secret weapon of every good arrangement.
Gather a tape measure, spirit level, pencil, drill, wall plugs and picture hooks rated for the weight of each piece. Check for cables and pipes with a detector before you drill — this takes thirty seconds and saves a great deal of grief.
Mark the position of the hook, not the top of the frame. The distance between the hook and the top of the frame — the drop — varies with the hanging wire, so measure it for each piece rather than assuming. For anything wider than about 50cm, use two hooks so the frame cannot tilt. Run a strip of masking tape along the intended top line as a guide, then check with the spirit level before drilling.
Lightweight pieces can go up with adhesive strips, but anything with glass or a substantial frame deserves a proper fixing into the wall. On plasterboard, use a fixing designed for it rather than a plain screw.
Glass reflects, so avoid hanging directly opposite a bright window or above a radiator, where heat and glare will both do damage over time. A picture light, a well-placed lamp or a picture shelf with a small uplighter can transform a flat arrangement after dark.
Finally, give yourself permission to change things. Rotate pieces between rooms, swap a print for a photograph, add a small piece to fill a gap that has always niggled. A gallery wall is not a permanent installation — it is a living collection, and it should grow with you.

Hi, my name is Anthony kuber. I am artist and fashion designer.
I love to travel and writing blogging.
Your email address will not be published. Required fields are marked *
Software Developer & Writer
Hey, I'm Diva, a developer and writer blending code and creativity. I'm driven by a deep curiosity and a relentless pursuit of excellence. Join me as I craft digital solutions and captivating stories.


